Makeup has long been a canvas for expressing individuality and enhancing natural beauty. Among the myriad techniques that have evolved, contouring and highlighting are two of the most transformative methods for creating stunning facial dimensions. These techniques harness light and shadow to sculpt the face, elevating features and providing depth that can shift the perception of one’s look. Mastering the balance between these two can elevate your makeup game, whether you’re preparing for a glamorous event or simply want to enhance your everyday appearance. In this article, we will delve deep into the world of contouring and highlighting, offering insight and tools to help you achieve the perfect blend of shadows and highlights.
Understanding the art of contouring involves more than just applying darker and lighter products; it requires a thorough knowledge of your facial structure and the right application techniques. Each face is unique, and knowing how to manipulate products to complement your individual features can make a noticeable difference. Highlighting complements contouring by drawing attention to your best qualities while providing a radiant glow. Together, they create a balanced look, ensuring that the face appears sculpted yet natural. Let’s embark on this beauty journey and discover how to master the techniques of contouring and highlighting.
What is Contouring?

Contouring primarily involves using makeup to create shadows on your face, enhancing features like cheekbones, the jawline, and the nose. By applying darker shades strategically, you can define areas that may need a little enhancement. Most contouring products come in matte formulations, providing that effortless depth without appearing too shiny or reflective. It’s crucial to understand the purpose of each technique and how they communicate with one another to achieve desired results. The right application can bring a sculptural effect without making it obvious that makeup has been applied.
The Basics of Contouring
To create effective contours, the key is in the blending. It’s essential to apply these darker shades sparingly at first; it’s easier to build up than to tone down. The primary areas to focus on include:
- Cheekbones: Apply contour just under them to create lift.
- Jawline: Contour along the jaw to define and sharpen.
- Nose: A subtle contour on the sides can elongate the appearance.
When selecting products, consider your skin tone. Warmer tones should use warmer shades, while cooler tones should opt for ashy or neutral shades. Applying contour correctly can give the illusion of depth, making your face appear more structured and dimensional. However, it’s important to remember that the aim is subtlety, not harsh lines.
Tools and Products for Contouring
Choosing the right tools and products will significantly impact your contouring results. Here are some options:
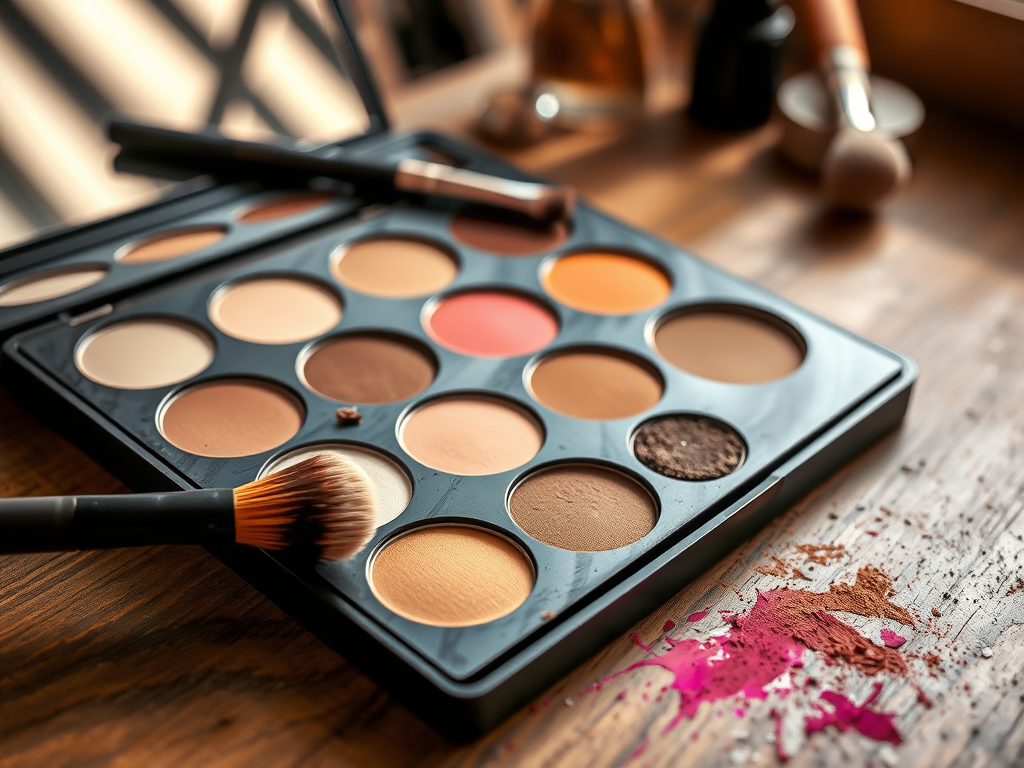
- Contour creams and powders: Offer variety in finish and application.
- Brushes vs. sponges: Sponges allow for a flawless blend, while brushes offer precision.
- Choosing shades: Ensure to select products that align closely with your complexion.
What is Highlighting?

Highlighting is all about illuminating areas of your face to create a dewy, fresh look. Unlike contouring, which uses darker shades to create shadow, highlighting reflects light off areas that you want to enhance. This technique works wonders for bringing attention to cheekbones, brow bones, and the bridge of the nose. When done correctly, the highlight provides a youthful and glowing appearance. It’s essential to choose the right products to get that beautiful, lit-from-within look without excessive shimmer.
| Product Type | Description | Best For |
|---|---|---|
| Cream Highlighters | These provide a dewy finish and can be blended seamlessly into the skin. | Dry skin types |
| Powder Highlighters | These typically offer a more intense glow and can be layered. | Oily skin types |
| Liquid Highlighters | Versatile and easy to mix into foundations or use alone. | All skin types |
Highlighting can provide the illusion of texture and interest on a flat surface. When choosing your highlights, consider the finish you desire and your skin type. Moreover, knowing where to apply highlights is as crucial as the product itself. Focus on the high points of your face, ensuring they catch the light beautifully.
The Balance Between Contouring and Highlighting
Achieving the perfect balance between contouring and highlighting is essential to avoid any extremes. You want both elements to complement each other seamlessly. Skipping one can leave your face looking flat, while overdoing either can create a harsh or uneven appearance. The goal is to enhance your natural features while providing a polished look.
Finding Your Ideal Proportions
It is essential to measure the amount of product used for each technique carefully. Darker shades for contouring and lighter shades for highlighting should work in harmony. A good rule of thumb is to use contour sparingly at first, especially on areas like the cheekbones. Take your time blending to ensure a seamless finish. Begin with subtle layers, gradually adjusting until you find your ideal balance.
Creating Symmetry
Facial symmetry can be enhanced through proper application techniques. Here are a few tips to keep in mind:
- Face shape matters: Tailor your application to the unique contours of your face.
- Enhance your best features: Highlight where you want to draw attention and contour areas that need definition.
- Always blend: Blending is key to a natural look, diminishing any harsh lines.
Techniques for Application
With a fundamental understanding of contouring and highlighting, it’s time to learn how to apply these techniques effectively. Here’s a step-by-step guide that encapsulates the entire process:
- Begin by preparing your skin. Moisturize and apply a primer to create a smooth base.
- Next, apply foundation to evens out your complexion.
- Map out where contour and highlight should go on your face.
- Start with the contour, applying it to the shadow areas, followed by the highlight on high points.
- Finally, the most important step: blend! Ensure that there are no harsh lines between contour and highlight.
Conclusion
In conclusion, mastering contouring and highlighting can transform your makeup routine, allowing you to sculpt and illuminate your face with ease. The balance between the two creates a harmonious look that can be both subtle and striking, depending on the occasion. Remember, practice is essential; the more you work with these techniques, the more intuitively you will learn how to enhance your natural beauty. Experiment with tools, shades, and techniques that work best for you, and soon contouring and highlighting will be second nature.
Frequently Asked Questions
- What should I use for contouring? Look for matte products that are a few shades darker than your foundation, such as creams or powders specifically designed for contouring.
- Can contouring be done for daily wear? Yes, contouring can be subtle enough for daily looks if you use lighter application methods and blend well.
- What’s the difference between strobing and highlighting? Strobing focuses solely on highlighting with dewy finishes, while highlighting can incorporate both matte and shimmer products to define features.
- How can I prevent my contour from looking harsh? Use a light hand, blend well, and ensure that the tones you choose are in harmony with your skin’s natural undertones.
- How do I choose the right products for my skin type? If you have oily skin, opt for powders; if you have dry skin, choose cream or liquid textures for a more radiant finish.
