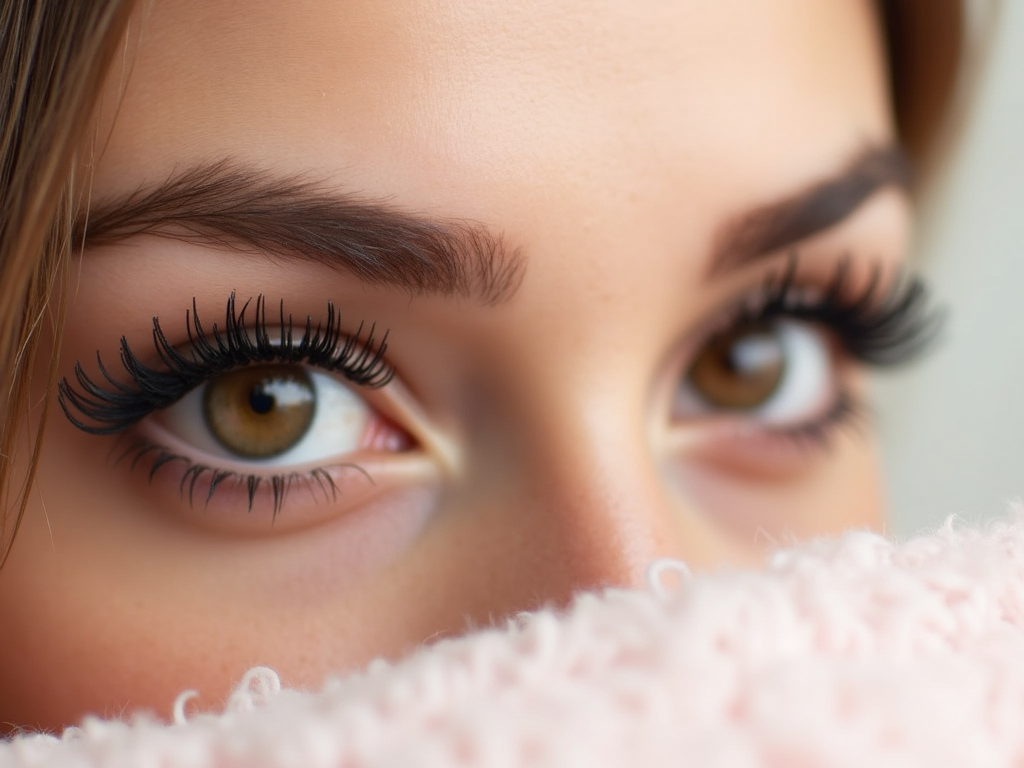
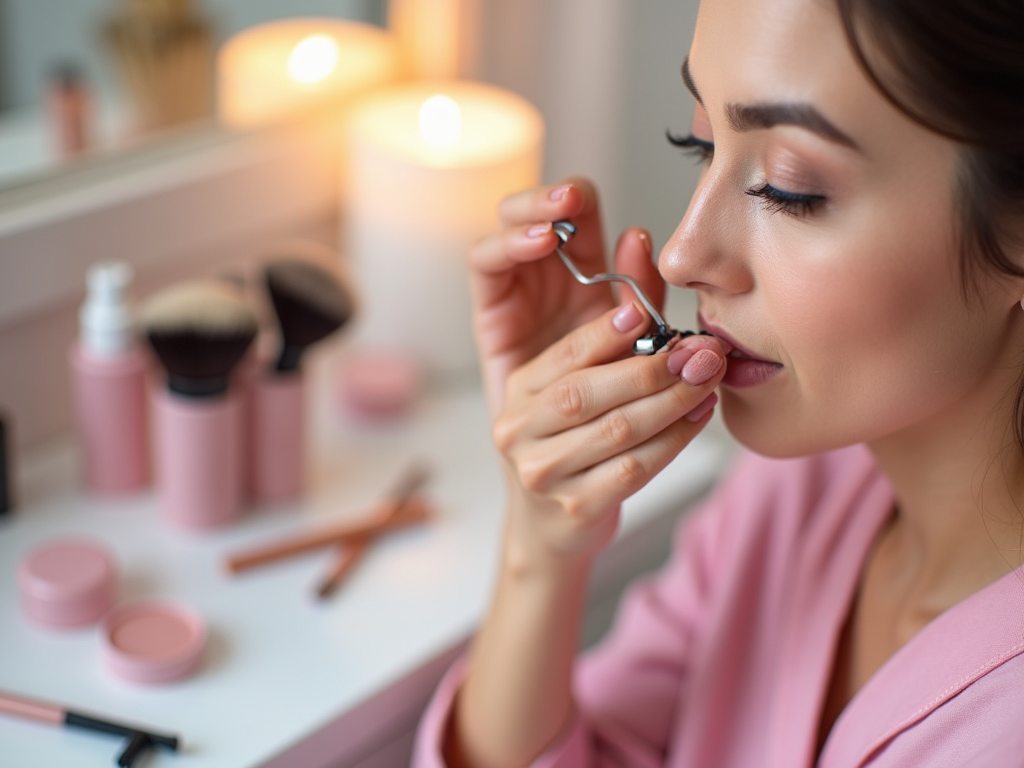
Curling your eyelashes may seem like a simple task, but mastering the technique can make a world of difference in elevating your eye makeup game. Achieving that stunning, wide-eyed look with perfectly curled lashes isn’t just about having the right tools, but also knowing how to use them. In this article, we’ll walk you through the essential steps and tips on how to curl your eyelashes like a total pro.
Choosing the Right Eyelash Curler

Before diving into the actual process of curling your eyelashes, it’s crucial to start with the right tool: the eyelash curler. Not all curlers are created equal, and finding one that suits your eye shape can make a significant difference. There are several factors to consider when picking an eyelash curler:
- Material: Stainless steel is durable and easy to clean, while plastic is lighter and gentler on sensitive skin.
- Shape: Curved curlers suit most eye shapes, but if you have flatter or larger eyes, consider other types.
- Cushion: Choose one with a soft, silicone pad for a comfortable, crimp-free curl.
Experiment with a few different kinds if necessary, as this can greatly impact your end results.
Prepping Your Lashes
Preparation is key when it comes to curling your eyelashes effectively. Start by ensuring your lashes are clean and free of any mascara or makeup residue. This will help to prevent any tugging or pulling that could lead to lash breakage. To prepare your lashes:
- Wash your face and gently pat your lashes dry.
- If desired, apply a thin coat of a lash primer to add a protective barrier and enhance curl retention.
- Use a lash comb to carefully separate and detangle your lashes.
These steps provide a strong foundation for achieving beautifully curled lashes while minimizing damage.
The Perfect Curling Technique
Having the right technique is paramount to curling your lashes like a pro. Here’s a step-by-step guide:
- Open the eyelash curler and position your lashes between the clamp.
- Start at the base of your lashes, close the curler gently, and hold for 10 seconds.
- Move the curler halfway up your lashes, squeeze it again gently for another 10 seconds.
- Finish by curling the lashes at the tip for a natural, rounded curl.
A steady hand and patience are key during this process. If you’re just starting, practice makes perfect.
Enhancing Your Curled Lashes
Once your lashes are perfectly curled, the next step is to enhance and maintain the curl throughout the day. Mascara is your best ally here. Apply a light-weight, long-lasting mascara that provides volume without weighing down your meticulous curls. Additionally, consider these tips:
- Opt for a waterproof mascara to seal the curl in place.
- Use a clean spoolie brush to gently comb through the lashes after mascara application.
- Avoid over-application to prevent clumping and preserve the curl shape.
These enhancements ensure your eyes remain looking vibrant and stunning throughout the day.
Maintaining Your Eyelash Curler
Proper maintenance of your eyelash curler is vital for its longevity and effectiveness. A well-maintained tool not only enhances your results but also safeguards against potential eye infections. Here are steps to maintaining your curler:
- Clean the curler regularly using makeup remover wipes or cotton pads dipped in alcohol.
- Replace the silicone pad every 3-6 months or when it starts to wear down.
- Store your curler in a protective case to prevent damage.
By following these maintenance tips, you ensure that your curler remains in excellent condition, ready to deliver flawless curls every time you use it.
Conclusion
Curling your eyelashes like a pro combines technique, the right tools, and a bit of practice. By choosing the appropriate eyelash curler, prepping your lashes adequately, applying the proper curling technique, enhancing your lashes with mascara, and maintaining your curler, you’ll achieve flawlessly curled lashes that elevate your entire makeup look. With these tips, you’ll not only enhance your eyelashes but also boost your confidence with captivating, perfectly curled lashes.
Frequently Asked Questions
1. Why should I curl my eyelashes before applying mascara?
Curling your lashes prior to applying mascara helps set a natural curl that opens up your eyes, making them appear larger and more awake. It also prevents mascara from clumping and weighing down your lashes.
2. What if my eyelashes are very straight and hard to curl?
If you have straight lashes that are difficult to curl, consider warming your eyelash curler with a hairdryer for a few seconds. Test the temperature with your hand before using it to ensure it’s not too hot. This method, similar to using a curling iron, can help achieve a longer-lasting curl.
3. Can eyelash curling damage my lashes?
Improper technique or using a poor-quality curler can lead to lash damage. It’s important to use a gentle hand and choose a curler with a soft silicone pad. Regular cleaning and maintenance of your curler also prevent potential damage and infections.
4. Is it okay to curl my lashes every day?
Yes, it’s generally safe to curl your lashes daily, provided you use a gentle technique and a well-maintained curler. However, give your lashes a break occasionally to avoid any unnecessary stress or damage.
5. How can I make my curled lashes last longer?
To extend the life of your curl, use a waterproof mascara and consider applying a thin coat of a lash-setting spray. These products help lock in the shape of your curled lashes, ensuring they last throughout the day without drooping.
